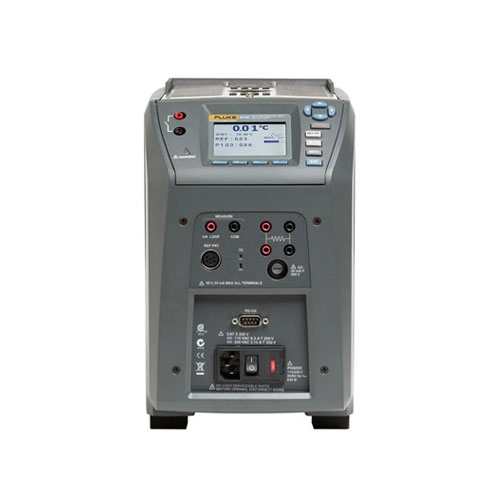
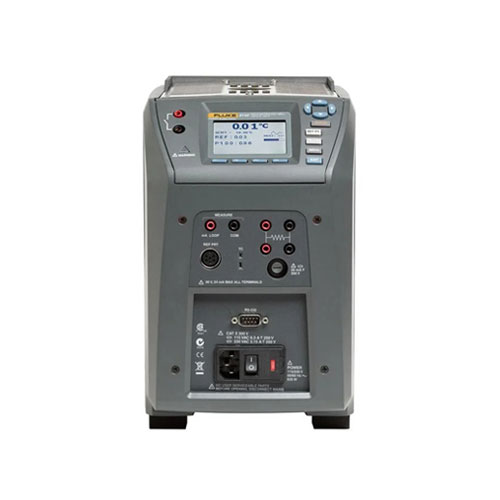
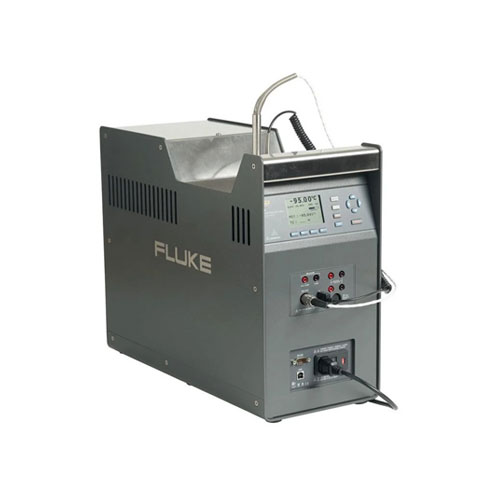
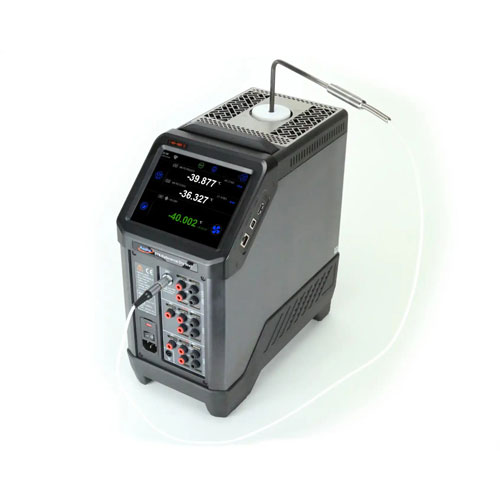
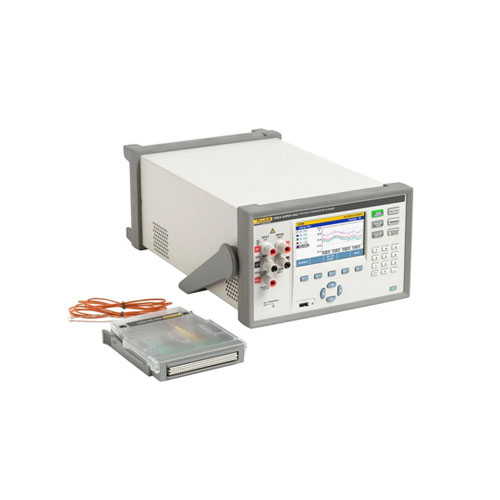
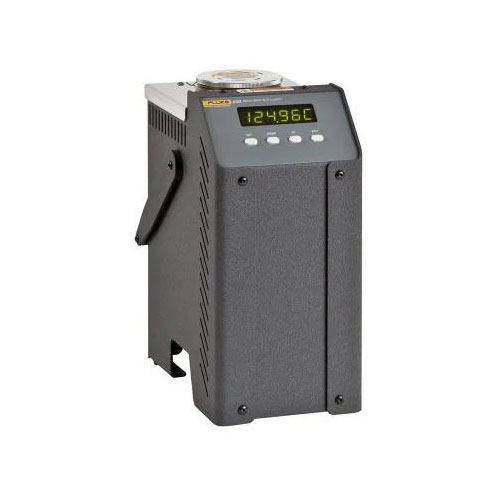
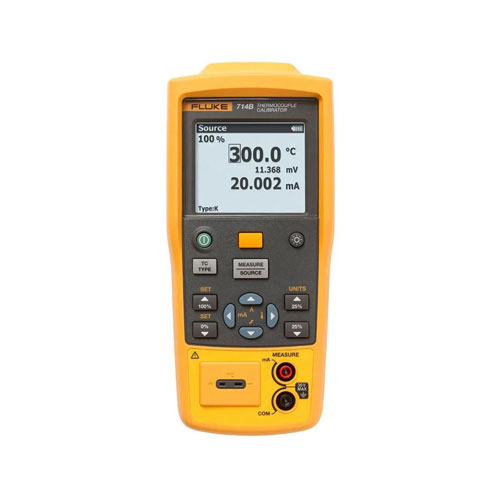
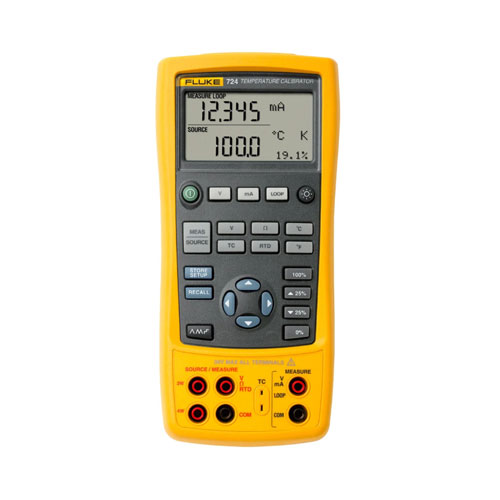
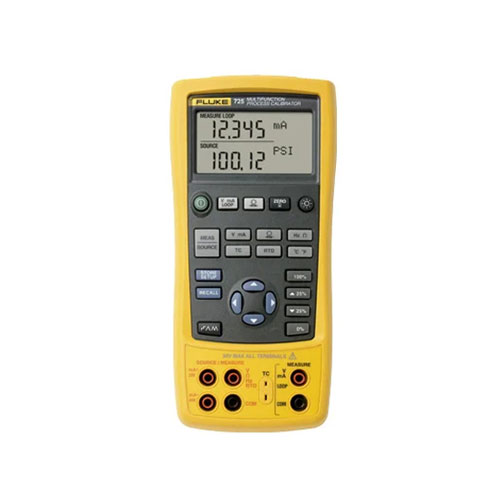
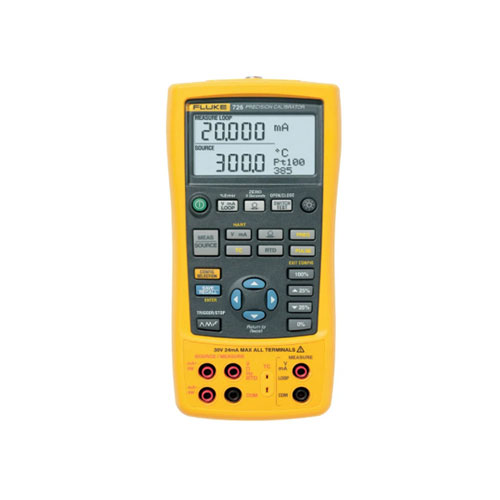
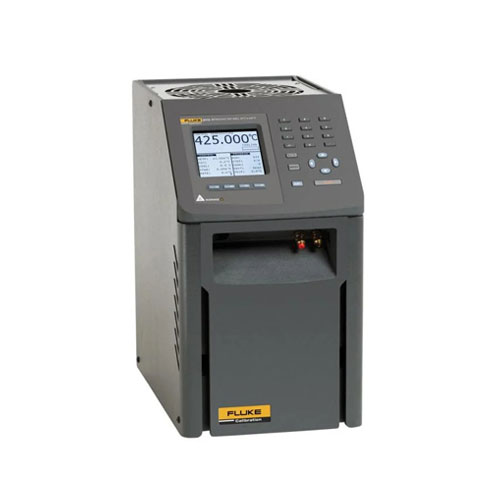
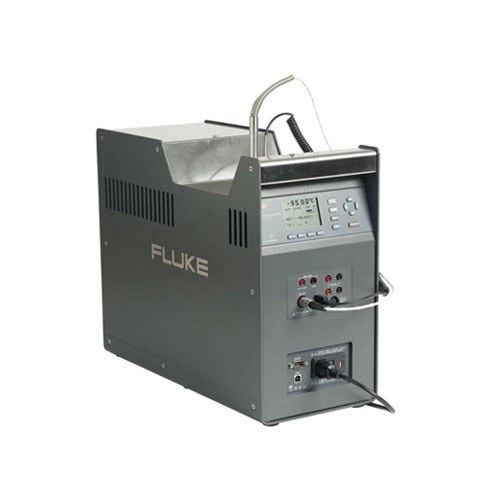
Fluke 9144 Metrology Well
- Lightweight, portable, and fast
- Built-in two-channel readout for PRT, RTD, thermocouple, 4-20 mA current
- True reference thermometry with accuracy to ±0.01 °C
- On-board automation and documentation
- Metrology performance in accuracy, stability, uniformity, and loading
- Description
- Additional information
- Specifications
Description
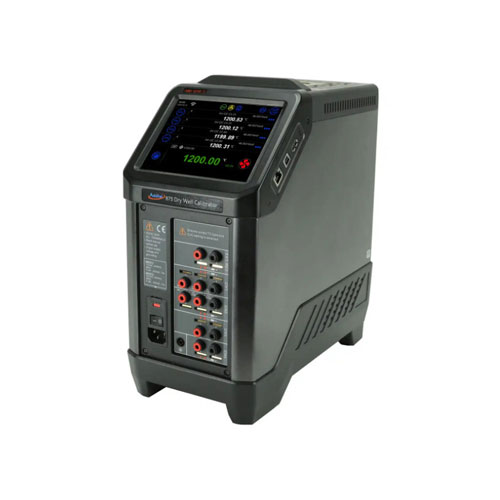
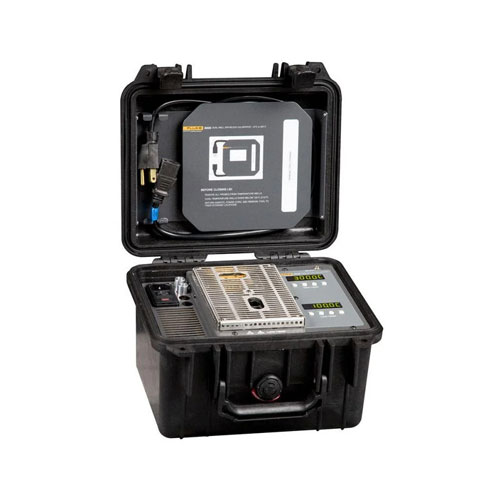
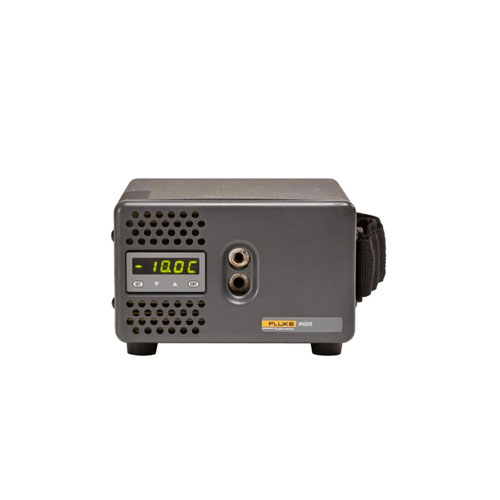
The Fluke 9144 Field Metrology Well is a portable temperature calibrator designed for high-accuracy calibration of industrial temperature sensors, thermocouples, and transmitter loops. It offers a wide temperature range from 50°C to 660°C, making it suitable for various industrial applications.
Key features and specifications:
- Lightweight, portable, and fast
- Built-in two-channel readout for PRT, RTD, thermocouple, 4-20 mA current
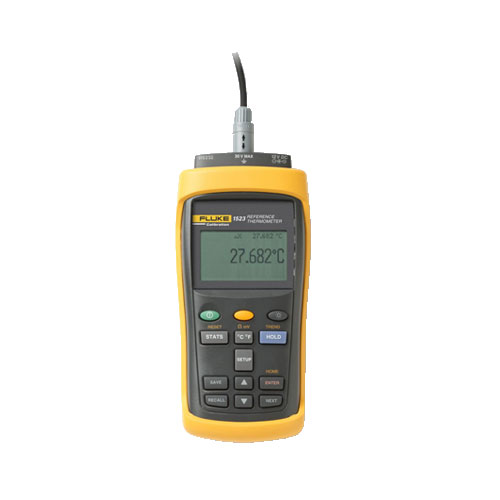
- True reference thermometry with accuracy to ±0.01 °C
- On-board automation and documentation
- Metrology performance in accuracy, stability, uniformity, and loading
- Portable and lightweight: Weighing less than 18 lbs, it’s easy to transport to different locations.
- Fast heating and cooling: Reaches set points quickly, saving time during calibration.
- High accuracy: Provides accurate temperature control with stability of ±0.03°C to ±0.05°C, depending on the temperature.
- Built-in reference thermometry: Includes a reference thermometer with accuracy up to ±0.01°C.
- On-board automation: Features automated calibration routines for efficient testing.
- Process electronics option: Available with built-in two-channel readout for calibrating resistance, voltage, and 4-20 mA current.
Applications:
- Calibration of industrial temperature sensors, thermocouples, and transmitter loops
- Process loop calibration
- Comparison calibration
- Research and development
Overall, the Fluke 9144 is a versatile and reliable temperature calibrator that offers high accuracy and portability, making it a valuable tool for various industrial and laboratory applications.
Additional information
| Brand | Fluke Calibration |
|---|
Specifications: Fluke Calibration 9144 Metrology Well
| Base Unit Specifications | |
| Temperature range at 23°C | 50°C to 660°C (122°F to 1220°F) |
| Display accuracy | ±0.35°C at 50°C ±0.35°C at 420°C ±0.5°C at 660°C |
| Stability | ±0.03°C at 50°C ±0.04°C at 420°C ±0.05°C at 660°C |
| Axial uniformity at 40 mm (1.6 in) | ±0.05°C at 50°C ±0.35°C at 420°C ±0.5°C at 660°C |
| Radial uniformity | ±0.02°C at 50°C ±0.05°C at 420°C ±0.10°C at 660°C |
| Loading effect (with a 6.35 mm reference probe and three 6.35 mm probes) | ±0.015°C at 50°C ±0.025°C at 420°C ±0.035°C at 660°C |
| Hysteresis | 0.1 |
| Operating conditions | 0°C to 50°C, 0% to 90% RH (non-condensing) |
| Environmental conditions (for all specifications except temperature range) | 13°C to 33°C |
| Immersion (well) depth | 150 mm (5.9 in) |
| Insert OD | 24.4 mm (0.96 in) |
| Heating time | 15 min: 50°C to 660°C |
| Cooling time | 25 min: 660°C to 100°C 35 min: 660°C to 50°C |
| Resolution | 0.01° |
| Display | LCD, °C or °F user-selectable |
| Size (H x W x D) | 290 x 185 x 295 mm (11.4 x 7.3 x 11.6 in) |
| Weight | 7.7 kg (17 lb) |
| Power requirements | 100 V to 115 V (±10%), 50/60 Hz, 1400 W 230 V (±10%), 50/60 Hz, 1800 W |
| Computer interface | RS-232 interface |
| Calibration | NVLAP accredited calibration included |
| Automation | Use the 1586A Super-DAQ to automate temperature sensor calibration |
| -P Specifications | |
| Built-in reference thermometer readout accuracy (4-wire reference probe)1 | ±0.010°C at -25°C ±0.015°C at 0°C ±0.020°C at 50°C ±0.025°C at 150°C ±0.030°C at 200°C ±0.040°C at 350°C ±0.050°C at 420°C ±0.070°C at 660°C |
| Reference resistance range | 0 ohms to 400 ohms |
| Reference resistance accuracy2 | 0 ohms to 42 ohms: ±0.0025 ohms 42 ohms to 400 ohms: ±60 ppm of reading |
| Reference characterizations | ITS-90, CVD, IEC-751, Resistance |
| Reference measurement capability | 4-wire |
| Reference probe connection | 6-pin Din with Infocon Technology |
| Built-in RTD thermometer readout accuracy | NI-120: ±0.015°C at 0°C PT-100 (385): ±0.02°C at 0°C PT-100 (3926): ±0.02°C at 0°C PT-100 (JIS): ±0.02°C at 0°C |
| RTD resistance range | 0 ohms to 400 ohms |
| RTD resistance accuracy2 | 25 ohms to 400 ohms: ±80 ppm of reading 0 ohms to 25 ohms: ±0.002 ohms |
| RTD characterizations | PT-100 (385),(JIS),(3926), NI-120, Resistance |
| RTD measurement capability | 4-wire RTD (2-,3-wire RTD w/ Jumpers only) |
| RTD connection | 4 terminal input |
| Built-in TC thermometer readout accuracy | Type J: ±0.7°C at 660°C Type K: ±0.8°C at 660°C Type T: ±0.8°C at 400°C Type E: ±0.7°C at 660°C Type R: ±1.4°C at 660°C Type S: ±1.5°C at 660°C Type M: ±1.4°C at 660°C Type L: ±0.7°C at 660°C Type U: ±0.75°C at 600°C Type N: ±0.9°C at 660°C Type C: ±1.1°C at 660°C |
| TC millivolt range | –10 mV to 75 mV |
| Voltage accuracy | 0.025% of reading + 0.01 mV |
| Internal cold junction compensation accuracy | ±0.35°C (ambient of 13°C to 33°C) |
| TC connection | Small connectors |
| Built-in mA readout accuracy | 0.02% of reading + 2 mV |
| mA range | Cal 4-22 mA, Spec 4-24 mA |
| mA connection | 2 terminal input |
| Loop power function | 24 V DC loop power |
| Built-in electronics temperature Coefficient (0°C to 13°C, 33°C to 50°C) | ±0.005% of range per°C |
| 1. The temperature range may be limited by the reference probe connected to the readout. The Built-In Reference Thermometer Readout Accuracy does not include the sensor probe accuracy. It does not include the probe uncertainty or probe characterization errors. 2. Measurement accuracy specifications apply within the operating range and assume 4-wires for PRTs. With 3-wire RTDs add 0.05 ohms to the measurement accuracy plus the maximum possible difference between the resistances of the lead wires. |
|


